Every vehicle owner knows that minor scratches can occur, whether due to shopping carts, debris on the road, or simply a careless moment. While these imperfections might seem trivial, they can detract from the overall appearance and value of your car. Fortunately, you don’t need to visit a professional shop to address these issues. With a few simple tools and techniques, you can repair those unsightly marks and restore your vehicle’s paint to its former glory.
In this guide, we will explore the step-by-step process for fixing minor scratches at home using readily available products. Understanding the importance of matching the right paint, as well as the correct application techniques, is crucial for achieving seamless results. We will discuss the best methods for addressing surface scratches and clear coat damages, emphasizing the importance of patience and precision during the repair process.
By following these straightforward steps, you can not only enhance the appearance of your vehicle but also protect its value over time. Whether you are a seasoned DIY enthusiast or a first-time car owner, this article will provide valuable insights into effectively managing scratches and keeping your car looking its best.
Choosing the Right Products for Paint Scratch Repair

When tackling minor vehicle scratches, selecting the appropriate products is crucial for effective paint repair. Start by identifying the depth and severity of the scratches. Superficial scratches that have not penetrated the clear coat can often be treated with scratch removal kits, which typically include compounds and polishes specifically designed for minor imperfections. Look for products that contain abrasives to gently buff out the scratch without harming the surrounding paint.
For deeper scratches that reach the base coat, you may need a touch-up paint kit. Ensure the paint matches your vehicle’s color by checking the color code, usually found on the driver’s side door or under the hood. A quality touch-up pen or paint bottle should come with applicators to allow for precise application, minimizing the risk of spreading the paint beyond the scratched area.
Additionally, consider using a clear coat repair solution to seal the area after applying touch-up paint. This product can help restore the glossy finish and provide additional protection against future damage. Always prioritize products that are easy to use and specifically formulated for automotive surfaces for the best results.
Lastly, read reviews and seek recommendations on brands that consistently deliver reliable performance. Investing in reputable products can significantly enhance your results and prolong the life of your vehicle’s paint.
Step-by-Step Guide to DIY Scratch Repair Techniques
Repairing minor vehicle scratches at home can be a straightforward process with the right approach. This guide will walk you through effective DIY methods to restore your car’s paint finish.
Step 1: Assess the Scratch – Examine the scratch closely to determine its depth. Light scratches that only affect the clear coat are easier to repair than deeper ones that reach the paint layer. Use your fingernail; if it catches, the scratch is likely deeper.
Step 2: Clean the Area – Use soap and water to clean the scratched area thoroughly. Remove any dirt or debris to ensure a smooth repair. Dry the surface completely before proceeding.
Step 3: Gather Materials – You will need a few essential items: fine-grit sandpaper (2000-3000 grit), rubbing compound, a soft cloth, touch-up paint matching your vehicle’s color, and clear coat sealant. Make sure to choose high-quality products for best results.
Step 4: Sand the Scratch – For deeper scratches, gently rub the area with fine-grit sandpaper. Sand in a straight line, applying minimal pressure to avoid damaging surrounding paint. This step will create a smooth surface for the repair.
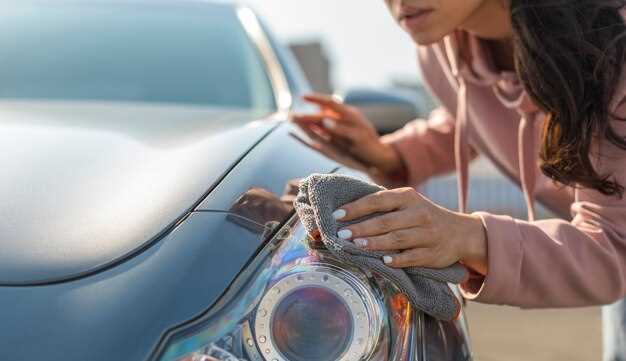
Step 5: Apply Rubbing Compound – After sanding, apply a small amount of rubbing compound to the scratched area. Use a soft cloth to buff the compound into the scratch, working in small circles until the scratch becomes less visible.
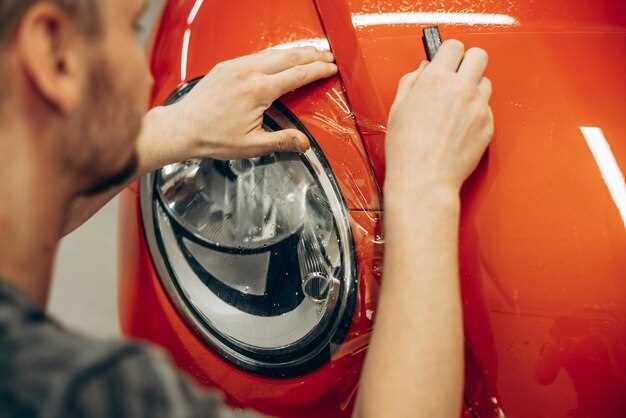
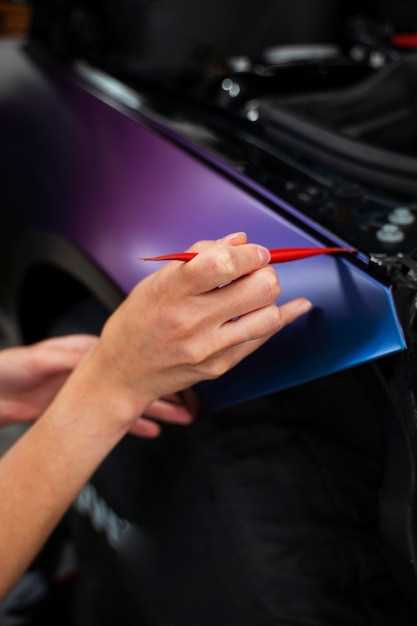
Step 6: Touch-Up Paint Application – Using the matching touch-up paint, carefully apply it to the scratch. A fine brush or toothpick can help control the application. Be sure to build layers gradually, allowing each coat to dry before adding more paint until the scratch is even with the surrounding surface.
Step 7: Seal the Repair – Once the touch-up paint is dry, apply a clear coat sealant over the repaired area. This will protect the paint and enhance the shine of your vehicle. Follow the manufacturer’s instructions for best results.
Step 8: Final Buffing – After the clear coat has fully cured, buff the area with a soft cloth to blend it with the surrounding paint. This final step will help achieve a seamless finish.
By following these DIY scratch repair techniques, you can restore your vehicle’s appearance without professional help. Regular maintenance and timely repairs can keep your car looking its best.
Finishing Touches: Polishing and Protecting Repaired Areas

After successfully repairing scratches on your vehicle’s paint, the next crucial step is to ensure the repaired areas are polished and protected. This not only enhances the appearance but also prolongs the life of the repair work.
Polishing is essential for blending the repair area with the surrounding paint. Use a fine polishing compound and a soft cloth or foam applicator to gently buff the repaired spot. Move in circular motions, applying light pressure to avoid damaging the newly repaired area. Continue this process until the surface achieves a smooth finish that closely matches the original paint.
Once you’ve polished the area, it’s important to apply protection. Waxing the repaired sections is an effective way to seal and guard against future scratches and environmental contaminants. Choose a high-quality automotive wax or sealant and apply it according to the product instructions. This creates a protective barrier that maintains the shine of your vehicle while ensuring the repaired paint adheres well.
In summary, polishing and protecting repaired areas not only improves the visual appeal of your vehicle but also extends the durability of the scratch repairs. By taking these final steps, you can enjoy a flawless finish for years to come.

